How To Install MediaWiki on CentOS 7
Introduction
MediaWiki is a free and open-source wiki application written in PHP. It was originally created for WikiPedia, but it now allows everyone to create their own wiki sites. Currently thousands of websites are running MediaWiki, including Wikipedia, Wiktionary and Wikimedia Commons. MediaWiki's homepage is located at https://www.mediawiki.org.
This tutorial goes through how to set up MediaWiki on a CentOS 7 Droplet.
Prerequisites
- A CentOS 7 server with SSH access. For more information, visit this tutorial.
- A LAMP stack, which you can install by following this tutorial.
Step 1 — Setting Up Your Server
After you have installed the LAMP stack, we will first need to install a few additional PHP 5 modules. All of them are optional except for the first one (the XML extension).
The first one we will be installing is the XML extension, and it is required for MediaWiki to run:
sudo yum install php-xml
The second one we will be installing is the Intl extension, for internationalization support:
sudo yum install php-intl
Secondly, we will install GD for image thumbnailing:
sudo yum install php-gd
These last two modules are really optional. These are not necessary for most wikis, unless you have a high performance or math-heavy wiki. The first one is Tex Live for in-line display of mathematical formulae:
sudo yum install texlive
For added performance, you can install XCache. For this, however, you also need to install an extra repository, as XCache is not available in the CentOS repository by default:
sudo yum install epel-release
Now, you can install XCache:
sudo yum install php-xcache
To finish these installations, restart Apache HTTPD.
sudo systemctl restart httpd.service
Step 2 — Downloading MediaWiki
In this section we will download MediaWiki from source. MediaWiki can be downloaded from its official website. At time of writing, the latest version is 1.24.1, but you can double check via the download link on this page.
Download MediaWiki.
curl -O http://releases.wikimedia.org/mediawiki/1.24/mediawiki-1.24.1.tar.gz
Untar the package:
tar xvzf mediawiki-*.tar.gz
Move to the /var/www directory:
sudo mv mediawiki-1.24.1/* /var/www/html
Step 3 — Creating a Database
In this section we will set up a MySQL database. This is not strictly required to successfully install MediaWiki, as you can use a SQLite database as well. Despite this, it is definitely a recommended measure.
We will first log in to the MySQL shell:
mysql -u root -p
This will change your prompt to MariaDB [(none)]>.
Now, we will create the database. The database name does not matter for MediaWiki, but we will use my_wiki in this tutorial. You can choose another name if you prefer.
CREATE DATABASE my_wiki;
The output should be:
Query OK, 1 row affected (0.00 sec)
We don't want to use the root user for MediaWiki, so we will create a new database user:
GRANT INDEX, CREATE, SELECT, INSERT, UPDATE, DELETE, ALTER, LOCK TABLES ON my_wiki.* TO 'sammy'@'localhost' IDENTIFIED BY 'password';
Change my_wiki to your chosen database name, sammy to your username, and password to a secure password. The output should be:
Query OK, 0 rows affected (0.01 sec)
Next, we need to flush the MySQL privileges:
FLUSH PRIVILEGES;
The output should be:
Query OK, 0 rows affected (0.00 sec)
Last, we will need to exit the MySQL shell:
exit;
The output should be:
Bye
Step 4 - Setting Up MediaWiki
In this section, we will set up MediaWiki so it is ready to use. Visit the homepage of your Droplet in your browser by pointing your browser to http://your_server_ip. On this page, select set up the wiki.
On the first page, select a language and click Continue. The next page should show your environment and it should say in green: The environment has been checked. You can install MediaWiki. Click Continue.
You will now get to the page with MySQL settings. For the Database type select MySQL (or compatible). For the database host, type localhost. The database name, username, and password will be the values you chose before. We used my_wiki for the database name, sammy for the username, and badpassword for the password. The table prefix can be left empty. It will look like this:

In the screen after the MySQL settings, the values can be left at their defaults. In the next screen, you will need to fill in the details of your wiki, like its name. You can also create the admin user for the wiki on this page.
In all the other screens, most, if not all, of the settings can be left untouched. If you want a specific setting enabled for your wiki, you might need to change something on one of these screens. Particularly if you have installed XCache before, you will need to check that to enable it.
When you have completed all steps, you should arrive at this page:
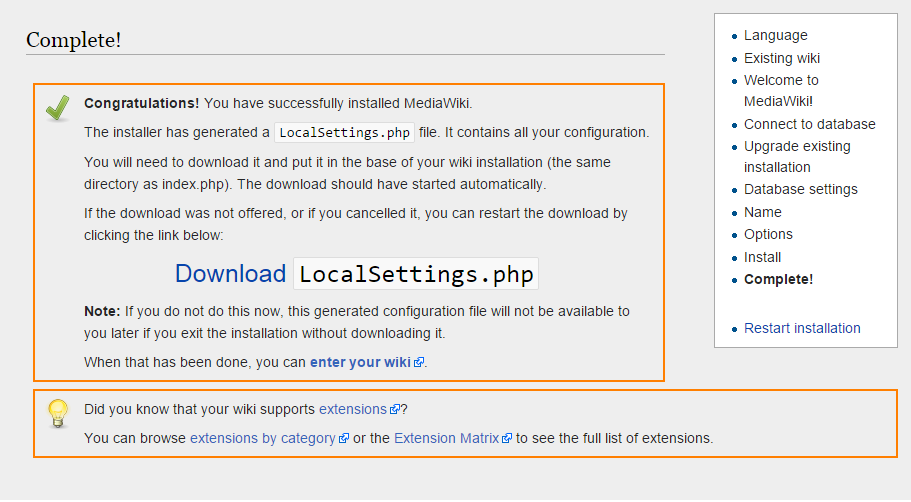
To successfully complete the installation, you will need to move a file called LocalSettings.php to your server, which should have started downloading automatically. You should download this file before closing the page.
Now, you will need to upload the file to /var/www/html. You could use an external program, but it is easiest to open the file on your local computer, copy the contents and paste them into your SSH session. To do this, first open the file on the server:
sudo nano /var/www/html/LocalSettings.php
Now, open the file on your computer in your text editor of choice and copy the contents into your SSH window. After you have saved the file, you can click enter your wiki and your wiki should be ready to use.
Conclusion
You will now see your own MediaWiki installation, ready for use. To further customize the page, visit the System administration page on the MediaWiki homepage. You can also start adding pages directly.

11 Comments