How To Set Up Continuous Integration Pipelines with Drone on Ubuntu 16.04
Introduction
Drone is a continuous integration and delivery platform written in Go. Through integrations with many popular version control services, you can use it to build, test, and deliver software automatically whenever your code is updated.
In this tutorial, we will fork an example GitHub repository and use Drone to build and test the project.
Prerequisites
Before starting this tutorial, you'll need Drone installed, configured, and linked to your GitHub account. The following tutorials will get you there:
- How To Install and Use Docker on Ubuntu 16.04: Install Docker using Step 1 and Step 2.
- How To Install Docker Compose on Ubuntu 16.04: Install Docker Compose using Step 1
- How To Install Nginx on Ubuntu 16.04: Install Nginx on the server using Step 1 and Step 2
- How To Secure Nginx with Let's Encrypt on Ubuntu 16.04: Secure Nginx with an SSL certificate
- How To Install and Configure Drone on Ubuntu 16.04: Install Drone and link it to your GitHub account
When complete, you should be logged in to Drone, at a screen similar to the following:
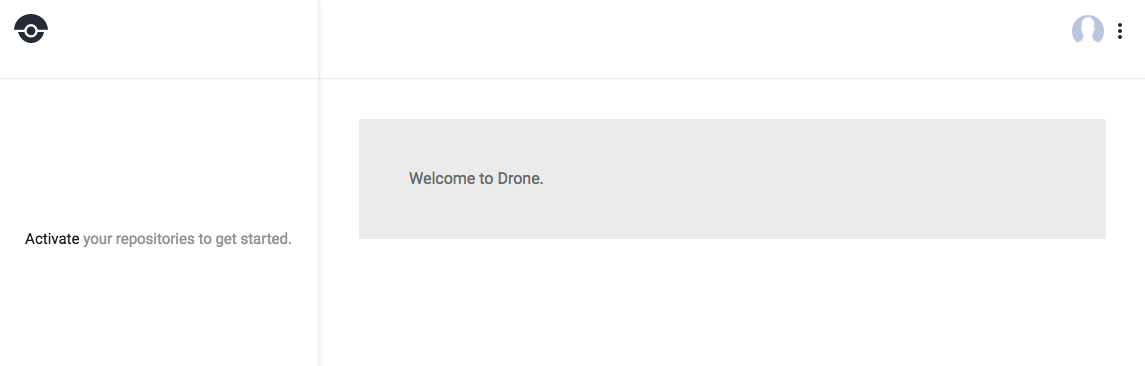
This is Drone's dashboard. It shows that we're logged in, but have no repositories set up in Drone. Let's create a repository now.
Forking the Example Repository
First, we'll need a GitHub repository with with some code to build and test. You can use Drone with many different version control repositories, but in the prerequisites we linked Drone with a GitHub account, so we'll use that throughout this tutorial. Log in to GitHub and navigate to the following repo:
https://github.com/do-community/hello_hapi

Click the Fork button in the upper-right corner to copy this repository to your own account. If you have access to multiple GitHub organizations, you may be asked to choose where to fork the repository to. Choose your normal user account. After a few moments, you'll be taken to the hello_hapi repository that has been copied to your account.
Next, we'll take a look at how we configure Drone to build and test our code.
Understanding the .drone.yml File
Drone looks for a configuration file named .drone.yml in your repository to determine how it should handle your code. This file is already included in the repository we just forked:
pipeline:
  build:
    image: node:latest
    commands: npm install
  test:
    image: node:latest
    commands: npm run test
This is a YAML file that defines a pipeline. A pipeline is a continuous integration process that runs multiple steps, one after the other. In our case, we have a two-step pipeline.
The first step, called build will use the node:latest Docker image to run npm install in our repository. This will download and install all of the libraries needed to run the tests.
The next step is called test. It uses the same Docker image to run our test suite. Often, you would run both the build and test commands in one step, but we've split them up to better demonstrate pipelines.
Note that the steps in a pipeline all share the same workspace, so files created in the first step will be available in later steps. Drone has many more options that can be configured with .drone.yml, which you can read about in the Drone documentation. Some of these features include:
- Matrix builds, where you build and test against multiple versions of a library or runtime to check compatibility
- Notifications via email or messaging services
- Publication of build products to npm, container registries, or static site hosts
Next, we'll tell Drone to watch for changes to our repository, and then trigger a build.
Triggering a Continuous Integration Run
Log in to Drone, if you aren't already. The home page will look fairly sparse until we set it up. The empty sidebar prompts us to Activate your repositories to get started.
Click the Activate link to show a list of all your GitHub repositories:

Find the hello_hapi repo and click the gray toggle in the right-hand column to activate it. The toggle will flip and turn green. Behind the scenes, Drone will use GitHub's API to make sure it receives notifications whenever our code changes.
Return to the home page dashboard by clicking the Drone logo in the upper-left corner of the screen, or by using the menu in the upper-right corner next to your user icon:

The dashboard will now have our new repository listed in the left-hand column. There's no status information yet, because we haven't run a build:

Click the hello_hapi repository name to enter a detailed view for the repository. It will have some tabs where we can update settings, add secrets like tokens and passwords, and get embeddable build status badges. By default we're on the Builds tab, and no builds are listed yet.

Let's trigger a build now.
Leave your Drone page open, and navigate to the hello_hapi GitHub repository in another tab or window. We're going to add a file to the project in order to trigger a build. Any file will do. Click the Create new file button up towards the top of the file list in your repo:

Choose any filename. In this case we chose trigger-file. Enter any content:

Then, scroll down to the bottom of the content editor and click the Commit new file button:

Upon commit, GitHub will notify our Drone install of the change. Drone will then start a new build. Switch back to your Drone browser window. The interface should update fairly quickly, and a spinning arrow will indicate that a build is happening.

It may already be finished if you took a few moments to switch back to Drone. Let's look at the build details next.
Viewing the CI/CD Results
Click on the build to enter a detailed view. If the build is still in progress, you'll be able to observe each pipeline step in real-time.
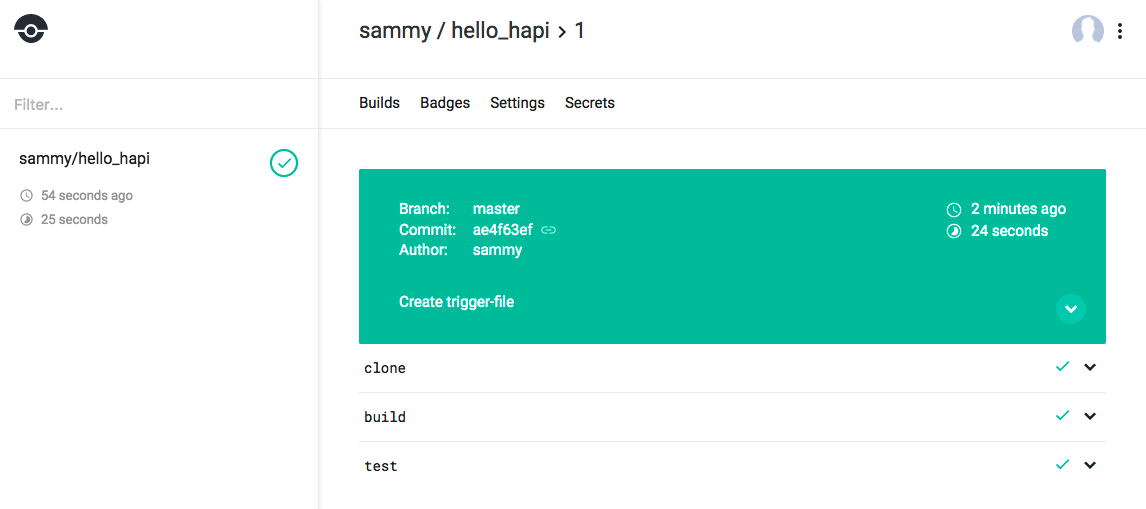
You can click the disclosure arrows for each build step to show more details. Here is the output of our test step:

If the step is still in progress, clicking the Follow button will show the output as it happens.
Note that there is a clone stage we didn't define in our .drone.yml file. This is always present and gives details on how Drone fetched your source code before the build.
Conclusion
In this tutorial, we forked a demonstration repository, explored the .drone.yml configuration file, and built and tested our repository with Drone.
For more information on configuring Drone to build, test, and deploy your project, refer to the Drone documentation.

0 Comments