How To Use the GitLab One-Click Install Image to Manage Git Repositories
Status: Archived
This article exists for historical reference and is no longer maintained.
Reason: This version is no longer available
See Instead:
- The latest GitLab One-Click Application documentation.
### Introduction
Collaborating on projects, keeping track of source changes, and maintaining a clean code repository are some great reasons to use a version control system. Version control is now considered an essential tool in software development.
Git is the most popular distributed version control system. GitLab is a git repository management server that can be used to host repositories and set up control structures for git within a clean web interface. It is built on Ruby on Rails.
DigitalOcean has created a GitLab application image that can be used to instantly deploy GitLab on a DigitalOcean Droplet using their Omnibus installer. You can have your own repository system up and running in minutes.
Step One – Create a GitLab Droplet
To create a GitLab Droplet follow this direct link. To navigate from within the Control Panel:
- open the Create menu
- select Droplets
- in the Choose an image section, open the One-click apps tab, and select the GitLab image.
Once the image is highlighted, you can accept the defaults or adjust settings according to your use case. We recommend changes to the following settings:
Choose a size
The GitLab One-Click Droplets require a minimum of 2 CPU cores and 4GB of RAM, so first available plan begins at 4 GB by default. Because it's easier to increase the size of a Droplet, if you're not sure what you'll need, it's easiest to start with the default and resize the Droplet later if it is warranted.
Choose a datacenter region
Generally, choose a data center in the region closest to your user base.
Add backups
If you're preparing your Droplet for serious use, consider enabling backups now now. You can enable and disable backups at any time by clicking the Droplet's name and selecting Backups from its menu.
Select additional options
We recommend that you select Monitoring, a free service that will help you follow Droplet resource usage over time.
When you've made your choices, click Create.
Step Two — Configure a Domain Name (Optional)
You can use GitLab with an IP address or a domain name. If you use a domain name, GitLab makes it easy to create a free Let's Encrypt certificate to protect the data and credentials of GitLab users, so you may want to set up a DNS record to point at the IP address of the Droplet you just created.
Records can be managed with any DNS provider, so exactly how you do this will vary. For help with DNS managed on DigitalOcean, see the documentation for How to Manage DNS Records.
Once you've set up the domain, you can use a service like What's my DNS to be sure that the record is available for the Let's Encrypt verification. To trigger the generation of the SSL Certificate, the only requirement is to enter your domain name with the https protocol in the configuration step below.
If you choose to set HTTPS later or use a different certificate authority, SendGrid's SSL documentation can help you.
Step Three –– Configure your GitLab installation.
One the Droplet is created, open a terminal and use SSH to connect and complete the set up.
- ssh root@droplet_ip_address
If you didn't upload an SSH Key, you will be emailed a password. Once you use it to log in, you'll be prompted to change it.
Once you've connected and changed the root password, the message of the day (MOTD) is displayed.
Output-------------------------------------------------------------------------------
Thank you for using DigitalOcean's GitLab Application
Your GitLab instance can be accessed at http://droplet_ip_address

You can find more information on using this image at: http://do.co/gitlabapp
-------------------------------------------------------------------------------
After the MOTD, you'll be prompted to configure GitLab with an interactive shell prompts:
OutputGitLab is not configured. If you would like customize it yourself,
press 'n' now.

Okay to Configure GitLab (Y|n):
Press ENTER or push Y to begin.
Next, you'll have a chance to define the External URL. You can accept the IP address as the default or specify your domain name. If you specify your domain name at https and it resolves to the Droplet IP, the script will generate a Let's Encrypt certificate for free and configure the site to use it:
OutputExternal URL (defaults to http://203.0.113.11):
Once you've entered your domain or accept the IP address, press ENTER.
You'll be asked to set the root user's password and then the configuration script will run. Note that the password must be at least 8 characters requires a special character and number.
OutputExternal URL (defaults to http://203.0.113.11):
Running 'gitlab-ctl reconfigure', this will take a minute...
Depending on the Droplet's resources, it may take several minutes before you see additional output. The following output confirms that the installation is complete.
Output- Setting the password...
- wrote log to /var/log/gitlab_set_pass.log
- -----------------------------------------------------------------------------
-
- You can access GitLab via:
- Web URL: http://203.0.113.11
- User: root
- Password: your_password
- For more information about this 1-Click, see: http://do.co/gitlabapp
-
- Happy Coding!
- -----------------------------------------------------------------------------
-
Step Four — Log into your GitLab site
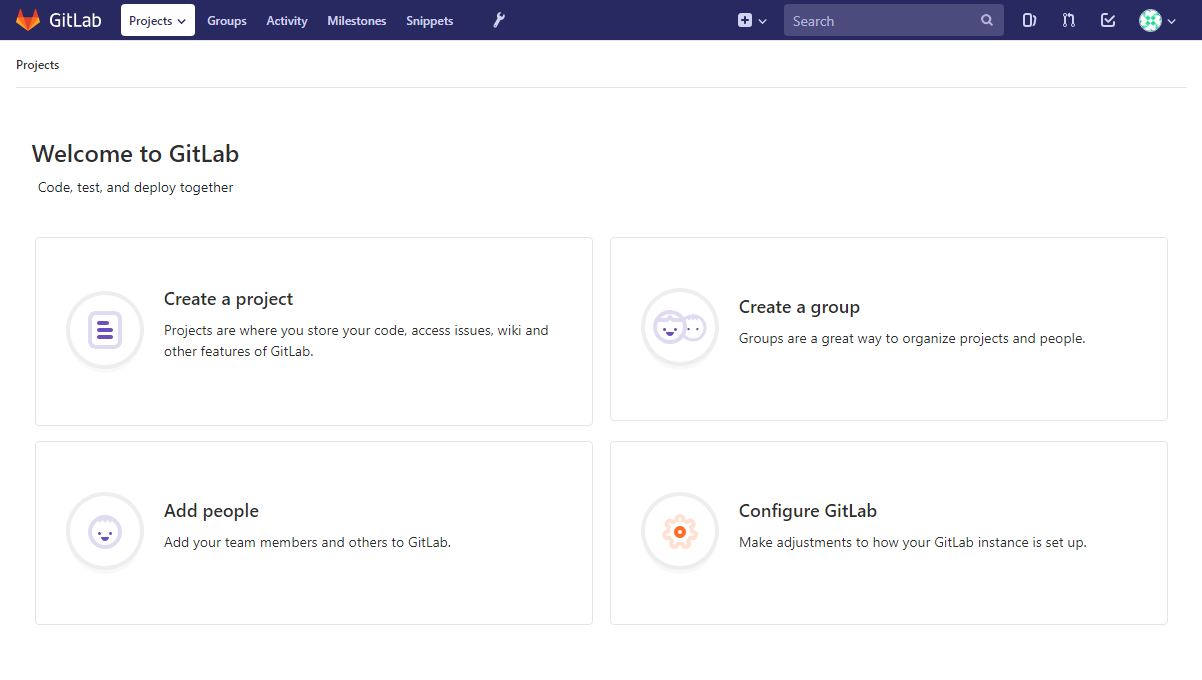
Visit the Web URL that's displayed in the output after you've configured your site. You'll arrive on the Sign in page. Enter the User and Password that you chose when you configured your site, which are displayed in the confirmation text.

You now have a full GitLab server configured and at your disposal to manage your repositories:
Next Steps
Configuring System Email Addresses
The GitLab One-Click application is configured to use a local postfix server for sending email. For a production site, we recommend using an external service such as Mandrill or SendGrid.
Learn how to customize the system From: address and the Support From: address and other mail settings on GitLab's SMTP Settings page.
Note: If you don't receive email from your new GitLab site, be sure to check your Spam folder
Updating to Newer Releases
Use the GitLab Community Edition directions for https://about.gitlab.com/update/#debian to update to newer releases.
Conclusion
You should now have a server configured to handle your team's git projects. You can manage user access, configure both public and private repositories, and get an overview of your projects' issues and commits.
For further information on configuring your GitLab Omnibus installation, check out the official documentation.

78 Comments