
How to Use the Ruby on Rails One-Click Application on DigitalOcean
Status: Archived
This article exists for historical reference and is no longer maintained.
Reason: This version is no longer available
See Instead:
- The latest Ruby on Rails One-Click Application documentation.
Introduction
DigitalOcean's Ruby on Rails One-click application provides a convenient way to get your Rails application running on an Ubuntu server. With Nginx, Unicorn, and Postgres all pre-installed, the One-click is a great base for hosting your app.
In this tutorial, we'll show you how to create a Droplet, where to find the usernames and passwords, and how to restart the key services on the Droplet.
What's Included?
The Ruby on Rails One-click image adds the following components to a standard DigitalOcean Ubuntu 16.04 Droplet:
- Ruby 2.4.1: Ruby language support, installed with RVM
- Rails 5.2.0: The Rails web framework gem
- PostgreSQL: The most commonly used database server for production Rails application deployments
- Unicorn: A Rails application server
- Nginx: A general purpose HTTP server that is configured as a reverse proxy to Unicorn
- Git: Version control
The image also comes preconfigured with a system user and a database user for application deployment, both named rails.
Step 1 — Creating a Ruby on Rails Droplet
From the DigitalOcean Control Panel, click the Create button and select Droplets.

This will take you to the Create Droplets page, where the key settings are:
- Choose an image
Switch to the One-click apps tab and select the Ruby-on-Rails for 16.04 image.

- Choose a size
For a learning environment or basic application that won't receive much traffic, a 1GB Droplet should be enough.
You can accept the default settings for the remaining sections or adjust them to suit your requirements. Learn more about each choice, in How To Create Your First DigitalOcean Droplet.
When you're done, click the Create Droplet button. When the Droplet is ready, copy the IP address, paste it into a web browser, and visit the sample DigitalOcean Rails Application:
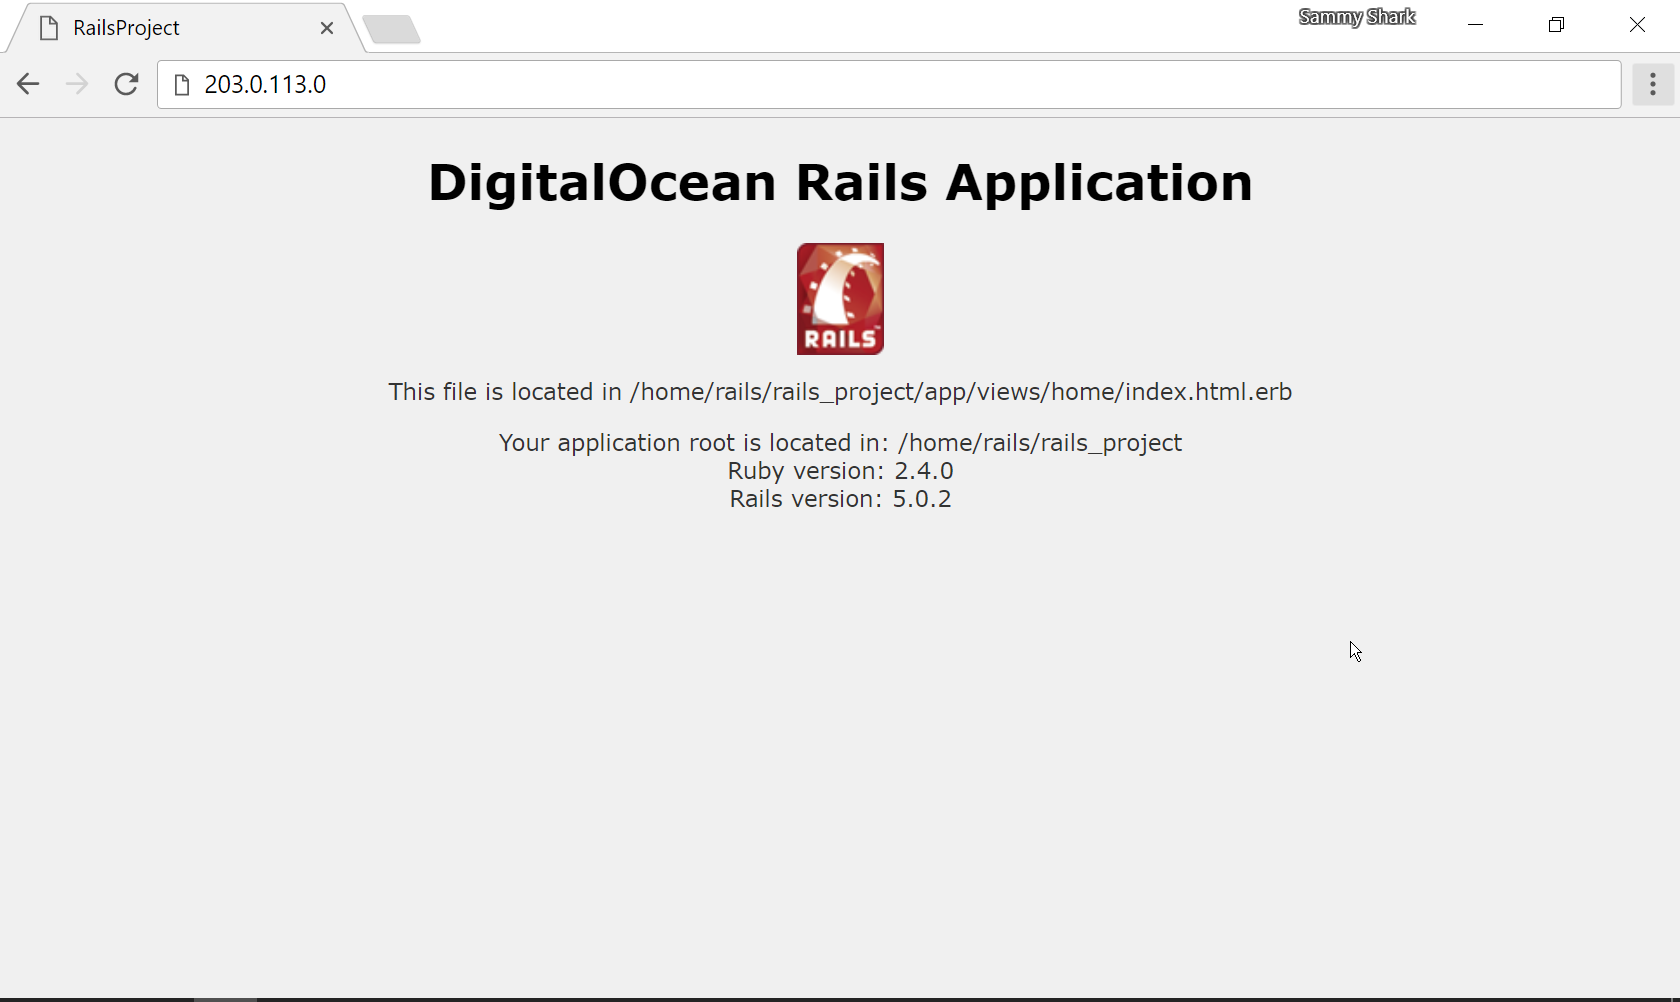
The web page will become available when all of the setup scripts are complete. Once you see the sample Rails page, you're ready to log into your server.
Step 2 — Accessing the Droplet via SSH
To deploy your own Rails applications, you will need to connect to the Droplet with SSH.
Note: If you haven't used SSH or PuTTY before, you may want to refer to this tutorial for more details: How To Connect To Your Droplet with SSH.
On your computer, open a terminal and log in to the Droplet as root with this command. Be sure to use the IP address of your Droplet.
- ssh root@droplet.ip.address
If you are prompted for a password, enter the password that was emailed to you when the Droplet was created. If you set up the Droplet with SSH keys, the keys will be used for authentication instead.
Step 3 — Locating Usernames and Passwords
The Ruby on Rails one-click application comes preconfigured with two users:
- A system user named rails, which deploys the application
- A PostgreSQL database user also named rails, which is used by the application to connect to the database
The passwords for both of these logins are randomly generated. Their location is provided in the message of the day (MOTD) that appears whenever you log via SSH. The MOTD will look something like this:
*** System restart required ***
-------------------------------------------------------------------------------
Thank you for using DigitalOcean's Rails Application.

The "ufw" firewall is enabled. All ports except for 22, 80, and 443 are BLOCKED.

Let's Encrypt has been pre-installed for you. If you have a domain name, and
you will be using it with this 1-Click app, please see: http://do.co/le-lemp

You can use the following SFTP credentials to upload your files (using FileZilla/WinSCP/Rsync):
  * Host: 203.0.113.0
  * User: rails
  * Pass: EXAMPLEf7d8939ef55f4e3292EXAMPLE

You can use the following Postgres database credentials:
  * User: rails
  * Pass:

Ruby has been configured to use vendored bundles. Please use the 'rails' user to
interact with the default project via "sudo -i -u rails"

Passwords have been saved in /root/.digitalocean.passwords

Nginx is configured to forward requests for unicorn to a local unix socket
    Public IP: http://203.0.113.0
    Access Logs: /var/log/nginx/access.log
    Error Logs: /var/log/nginx/error.log

Unicorn is managed via 'systemd'.
    Proccess management: systemctl {start|stop|restart} unicorn.service
    systemd Unit file: /etc/systemd/system/unicorn.service
    Configuration files: /etc/unicorn.conf
    Log file: /var/log/unicorn/unicorn.log

Ruby information:
    All Gems and processes have been installed locally to the 'rails' user. Please
    'sudo -i -u rails' to use this environment.
        Version: ruby-2.4.0
        List available gems: gem list
        List Rubies: list
        Show the Gem environment: gem env

You can learn more about using this image here: http://do.co/railsapp

-------------------------------------------------------------------------------------
To delete this message of the day: rm -rf /etc/update-motd.d/99-one-click
You can display the passwords with the following command:
- cat /root/.digitalocean.passwords
OutputRAILS_PROD_SECRET=EXAMPLE47f39668414ab80a6b451bed8bb44ee05020d88353d7687658d39faa593e41c98fa791804d91d828d644ca49a311616efb54972232b9ad93d3f8679163
RAIL_RAIL_POSTGRESS_PASS=EXAMPLE17b85ca43418eacaf4285b732
RAIL_USER_PASS=EXAMPLEdcfdac773bc1ce8a6da930a84
For convenience, the passwords are stored as environment variables that can be sourced as part of application deployment.
Step 4 — Restarting Services
Services on the Droplet are managed using systemd's systemctl command.
Use the commands below to manage Unicorn. To manage Nginx or Postgres, substitute nginx or postgresql instead of unicorn'.
Note that systemctl doesn't display success or failure messages. Use its status command to verify the outcome of the previous commands.
Restart
- sudo systemctl restart unicorn
Stop
- sudo systemctl stop unicorn
Start
- sudo systemctl start unicorn
Check status
- sudo systemctl status unicorn
In this tutorial, we've created a Ruby on Rails Droplet, verified the installation, accessed the Droplet via SSH, and located the usernames and passwords you'll need in order to deploy applications.
Next Steps
Follow our Initial Server Setup guide to give
sudoprivileges to your user, lock down root login, and take other steps to make your Droplet ready for production.For more advanced deployment strategies, look into using Capistrano to automate your work-flow.
And be sure to check out all the additional Ruby on Rails tutorial on the site.

69 Comments