
How To Use the Magento One-Click Install Image
This One-Click is no longer available - But you can still run Magento on DigitalOcean!
The best way to get started today is to reference the tutorial below, covering installation of Magento starting with a new Ubuntu 14.04 Server
| UBUNTU USERS: |
|---|
 How to Install and Configure Magento on Ubuntu 14.04 How to Install and Configure Magento on Ubuntu 14.04 |
DigitalOcean's Magento One-Click application provides a quick start to building a Magento storefront on top of a LAMP stack. This tutorial will guide you through the steps to finish configuring your site, including setting your domain name and installing an SSL certificate.
Create a Magento Droplet
To start using it, select “Magento 2.0 on 14.04” from the One-Click apps tab of the Droplet create page:

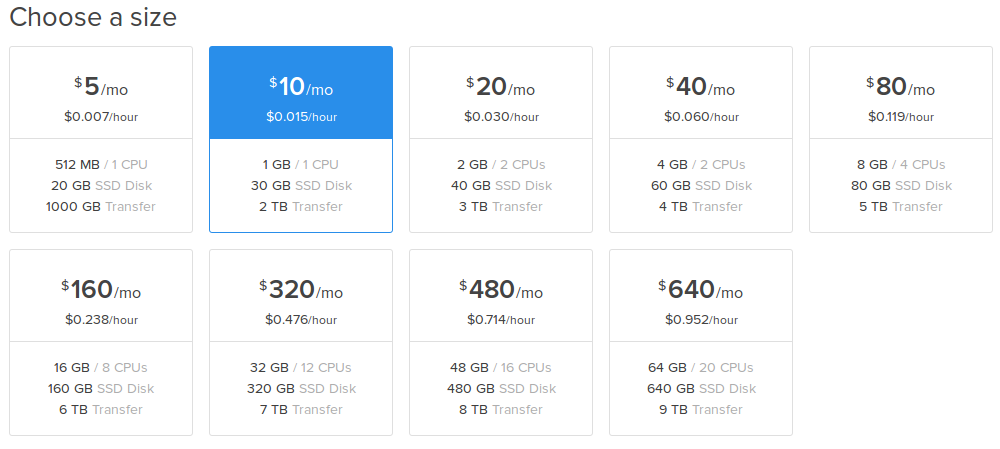
Then, select the size of your Droplet. The minimum size for a Magento Droplet is 1GB, but using a larger Droplet is highly recommended for production instances:
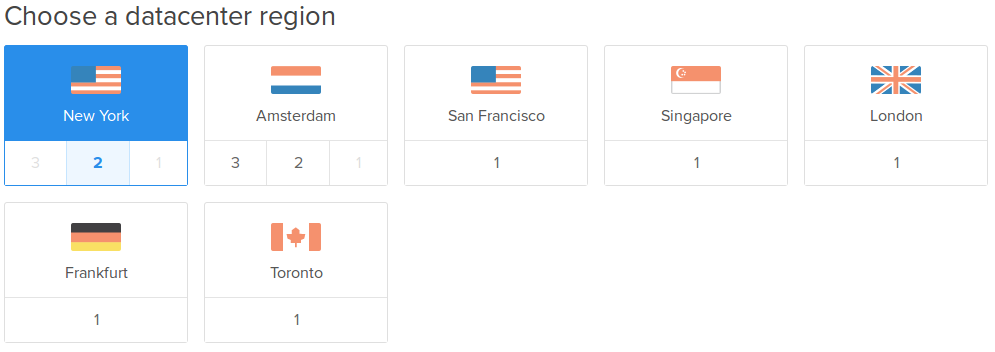
Next, select your desired region:
If you use SSH keys to manage your droplets, which are more secure than passwords and are recommended, you can also specify which ones you want added to this server.

Access Your Magento Credentials
Once your server has been spun up, you will be able to access the Magento installation from your IP address. However, in order to log into the administration panel of your storefront, you will need to retrieve your randomly generated password.
You can access the password by logging into your droplet with the following command:
ssh root@your_ip_address
If you are prompted for a password, type in the password that was emailed to you when the server was created. Alternately, if you set up the droplet with SSH keys, you can go ahead and log in without the need for a password.
Once you are logged in, you will see the message of the day (MOTD) which contains your password. It will look like this:
-------------------------------------------------------------------------------------
Thank you for using DigitalOcean's Magento One-Click Application.
Your storefront is available at http://XXX.XXX.XX.XXX
Your login credentials are:
User: admin
Pass: XXXXXXXX
Vist http://XXX.XXX.XX.XXX/admin_xxxxx to finish configuring your site.
-------------------------------------------------------------------------------------
Now that you have your login credentials, you can visit your Magento site by entering its IP address in your browser.

Magento's administration panel is protected by generating an unique URL for each instance. This URL can also be found in the MOTD and will be in the form: `https://your.ip.address/admin_xxxx

Secure Your Site with SSL
By default the application image generates a self-signed SSL certificate and uses it to secure the administration panel of your site.
While secure, a self-signed SSL certificate will generate a warning to visitors of your site. Before putting your site into production, you will want to obtain an SSL certificate from a proper certificate authority.
A free SSL certificate can be obtained from StartSSL. This tutorial will guide you through the process of installing it from start to finish. Whether you use StartSSL or purchase a certificate from another provider, your next step is to edit your Apache configuration to use your new SSL cert.
nano /etc/apache2/sites-available/magento-ssl.conf
Find the lines containing the information for the existing self-signed cert:
        SSLEngine on
        SSLCertificateFile /etc/apache2/ssl/apache.crt
        SSLCertificateKeyFile /etc/apache2/ssl/apache.key
and replace the the paths with the location of the files obtained from your certificate authority.
        SSLEngine on
        SSLCertificateFile /etc/apache2/ssl/ssl.crt
        SSLCertificateKeyFile /etc/apache2/ssl/private.key
        SSLCertificateChainFile /etc/apache2/ssl/sub.class1.server.ca.pem
Next, restart Apache in order for the changes to take affect:
sudo service apache2 restart
Set Up Your Domain
In order to use your own domain with the site, you will need to update the configuration in the administration panel. Sign into the site's administration panel and navigate to Store -> Configuration Here you will replace the references to your IP address with your domain name. There are two place where you need to make the change: General -> Web -> Base URLs and General -> Web -> Base URLs (Secure)

You will want to change your Apache configuration to refer to your domain name as well. Edit both /etc/apache2/sites-available/magento.conf and /etc/apache2/sites-available/magento-ssl.conf and replace the line:
#ServerName www.example.com
with:
ServerName your_domain.com
Once again, you will need to restart Apache in order for the changes to take affect:
sudo service apache2 restart
Set Up Your Account
You will also want to change the details of you administrator account. Select Account Settings from the drop down menu in the upper right:

In this screen, you may personalize your settings including your contact address, username, and password:

This One-Click is no longer available - But you can still run Magento on DigitalOcean!
The best way to get started today is to reference the tutorial below, covering installation of Magento starting with a new Ubuntu 14.04 Server
| UBUNTU USERS: |
|---|
| How to Install and Configure Magento on Ubuntu 14.04 |

55 Comments