
How to use the MediaWiki One-Click Application Image
Status: Archived
This article exists for historical reference and is no longer maintained.
Reason: This MediaWiki One-Click image is no longer offered.
See Instead:
Introduction
MediaWiki is a free and open source wiki program that powers sites like Wikipedia. This tutorial will guide you in using the MediaWiki One-Click Application image to create your own wiki site.
Step One - Create a MediaWiki Droplet
To get started with the MediaWiki One-Click Application Image create a new droplet from the control panel specifying a hostname and plan...

Select the region where you want to create your new droplet...

and select mediawiki-1.24.0-2 on Ubuntu 14.04 from the Applications tab.
If you use ssh keys to log into your droplets you can specify a key here.

Now click create to start your droplet creation.
Step Two - Configure MediaWiki
Your new MediaWiki droplet contains a complete installation of MediaWiki but you will need to create an administrative user in order to manage it. Once the droplet creation has completed, log into your droplet via ssh. If you are not using ssh keys you will be prompted to update your password. After updating your password you will be taken to a prompt asking you to create a new username and password for MediaWiki and to give your new wiki a name. The password you enter will not be displayed when you enter it.
MediaWiki Configuration
-----------------------

To complete the configuration of your new MediaWiki droplet some additional information is required...

Create an admin user

Admin Username:
admin


Admin Password

Retype Admin Password

Site Name
My Wiki Site
Once you provide these details your MediaWiki installation will be configured and you will see the following message:
Your new MediaWiki site has now been configured and can be accessed at
http://0.0.0.0
Step Three - Log into MediaWiki
Now that your wiki is set up you can log into the new account you created via a web browser. Open your browser to the URL indicated in the last step and click on Log in in the upper right corner of the page.
Enter the details for the user you created to log in.

Once you are logged in you can click on the Edit link on any page to modify it. You can find more information on formatting your wiki articles here.
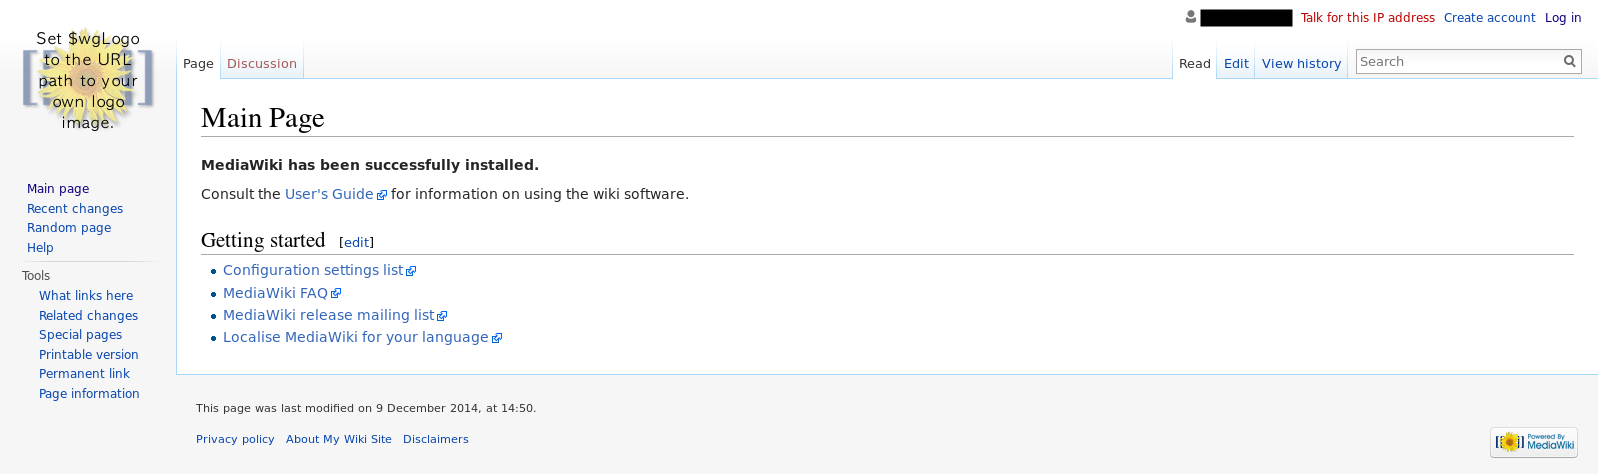
Step Four - Adding your Logo
You may have noticed the logo in the top left corner of your pages which says Set $wgLogo to the URL path to your own logo image. Next we will do this by editing the MediaWiki configuration file directly.
Log into your droplet via SSH and change directories to your web root
cd /var/www/html/
and open the file LocalSettings.php to edit it.
vi LocalSettings.php
Find the line in this file that reads
$wgLogo = "$wgScriptPath/resources/assets/wiki.png";
and edit it to point to the URL where your image is located:
$wgLogo = "http://i.imgur.com/Xxvhurd.png"
This can be any URL or it can be a path to a file on your droplet. For example, if you placed the file logo.png in the /var/www/html directory on your droplet you could specify this as your logo with the following setting:
$wgLogo = "$wgScriptPath/logo.png";
Once you save the LocalSettings.php file your change will take effect.
Step Five - Setting the Site Name
Now that your wiki is up and running you will likely want to access it using a domain or subdomain name instead of by it's IP address. To do this you will need to modify two variables in your LocalSettings.php file.
$wgSitename         = "New Site Name";
$wgMetaNamespace    = "New_Site_Name";
By setting these variables to a fully qualified domain name or subdomain that you have pointed to your droplet's IP address you will now be able to navigate your wiki via the new name.
Next Steps
With your new wiki up and running you may wish to customize it some more. The following tutorial provides details on modifying your LocalSettings.php to further customize your new MediaWiki installation.

6 Comments